Sunday, April 15

spring has sprung

How wonderful it is to be spring. I am so happy! 

We have chicks, and they are sweet as could be.

Seeds I have planted are growing roots here,
 And I eat like a queen.
Spring has most definitely sprung, thank goodness.

Wednesday, March 21

Happy spring!

Things are growing!
Though over the years I have grown to really love and appreciate winter for its cold and dark days, there is something that will always be special and joyful about spring. This year it seems to have come a bit early for me in Omaha, but it seems only appropriate to recognize the first day of spring (though it was yesterday). And a spring day it is indeed! Warm but drizzly, with a hint of pollen in the air. What a treat, too, with the trees blooming around the city and flowers budding everywhere! Even some tulips that I planted in January have decided to make an appearance, poking their noses out of the soil in front of our house. The birds too, are singing many a songs of spring. My body is rejuvenated.

As with all changing seasons, the coming of spring gave me a kick to decorate. I feel like we all have such a unique relationship with the spaces that we live in, and for me, I am better able to relate to my space if it is an ever-changing extension of my feelings (bless my roommates, who put up with my constant rearranging, redecorating and repeating).
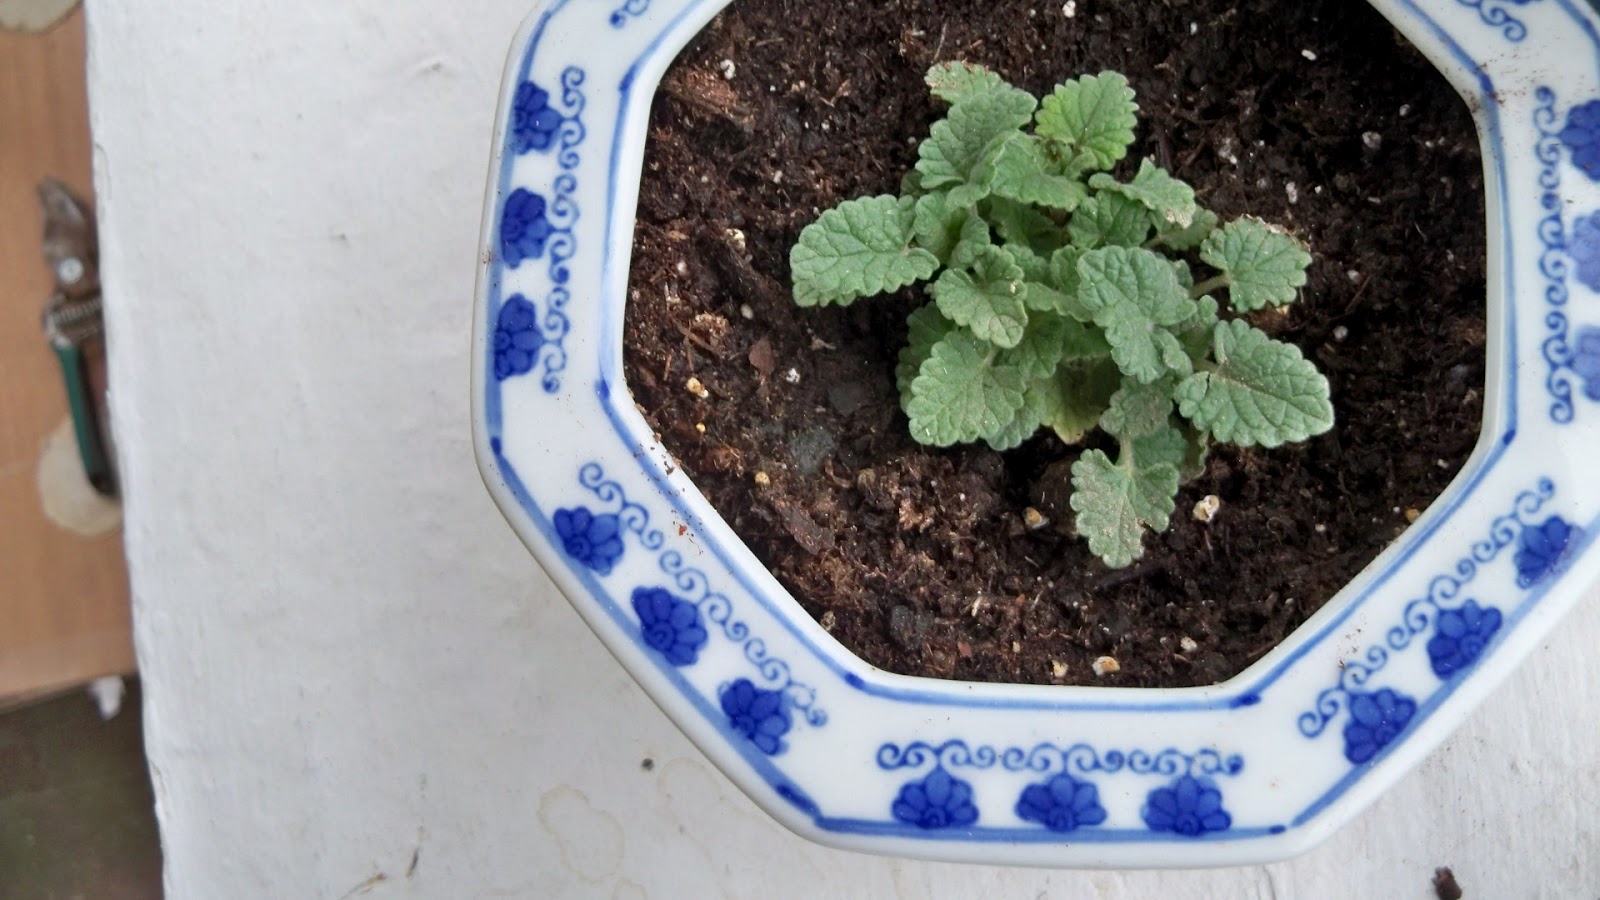
Cat mint I foraged from the riverbed of the Platte
A couple of months back, when Christmas had past and everyone else was ready for winter to be through, Farren and I were out and about and I spied a evergreen wreath on the curbside headed for the dump. Now if you know me, you know I won't pass up a good opportunity for free craft supplies! So we pulled on over and stuffed the wreath into the trunk and headed on our merry way. Upon bringing it home, I removed the branches and pine cones from the metal wreath hoop and fashioned a new winter wreath, which hung in our front window until only recently. When the outdoor temperatures reached 80 degrees and spruce needles covered our floor, I decided it was time for a change. Using the metal hoop we had foraged from the trash, it seemed only appropriate (spring is the time for new life!) to give our little wreath a new spring life.

I started by wrapping a portion of the metal frame with some pastel yellow scrap fabric I had lying around. Then, I wove branches that I had recently pruned from our fence-line around the remaining portion of the wreath. Because they were freshly cut, they were quite flexible and easily able to take any form I put them in. For a final touch, I made homemade flowers using coffee filters and some pink and orange paints. Super easy and the result is really lovely! I have written how to make the homemade blooms below.

I think the wreath turned out quite nice and my roommates have not taken it down yet... Other things that would work well around a spring wreath  would be hollowed eggs, dried flowers or some lace. Really, anything you have lying around! Its always nice to spruce up your space, and its especially nice when doing so costs pennies. In this case, I really only paid for the coffee filters. And it was a nice project to work on outside, allowing me to enjoy the beautiful weather!
Homemade flower blooms
Coffee filters (two per bloom)
Acrylic paint, in warm colors (I used pink and orange)
Water
A plate
other supplies:
A line to hang the filters to dry
Paint brush (optional; I used my fingers!)
Something to hold the filters to the line (I used bobby pins)

Start by wetting the plate with quite a bit of water. Lay a coffee filter on the plate and add paint. I used my fingers, so about a finger-dip is plenty of paint. Spread the paint around and allow it to spread throughout the filter.

Each filter will be unique, so add more or less paint to each one for different blooms! Once the filter is painted to your liking, hang to dry. The paint will drip a little, so be sure you are not hanging them over your finest linens or your favorite shoes (unless you want to paint those too!). It only takes a couple minutes to dry if the weather is warm, so you can just keep switching out wet ones for dry ones.

Once you have as many filters painted as you'd like, you are ready to make the blooms. Start by taking one filter and bunching it in the center so the edges ruffle out, and the center is pulled together tightly. Then, place the center of the first filter at the center of the second filter and softly bunch the second filter to create a flower-like bloom. Using string, tie the two filters together!
I used the blooms on the wreath but they can also be used for other things. Consider tying them to single branches and using them in a bouquet. String some together and use them as a garland. Use them for gift wrapping! Really, anything you'd like to bring some springy fun to.

Other things that are happening in my life right now:
Big Muddy Urban Farm started our seeds!
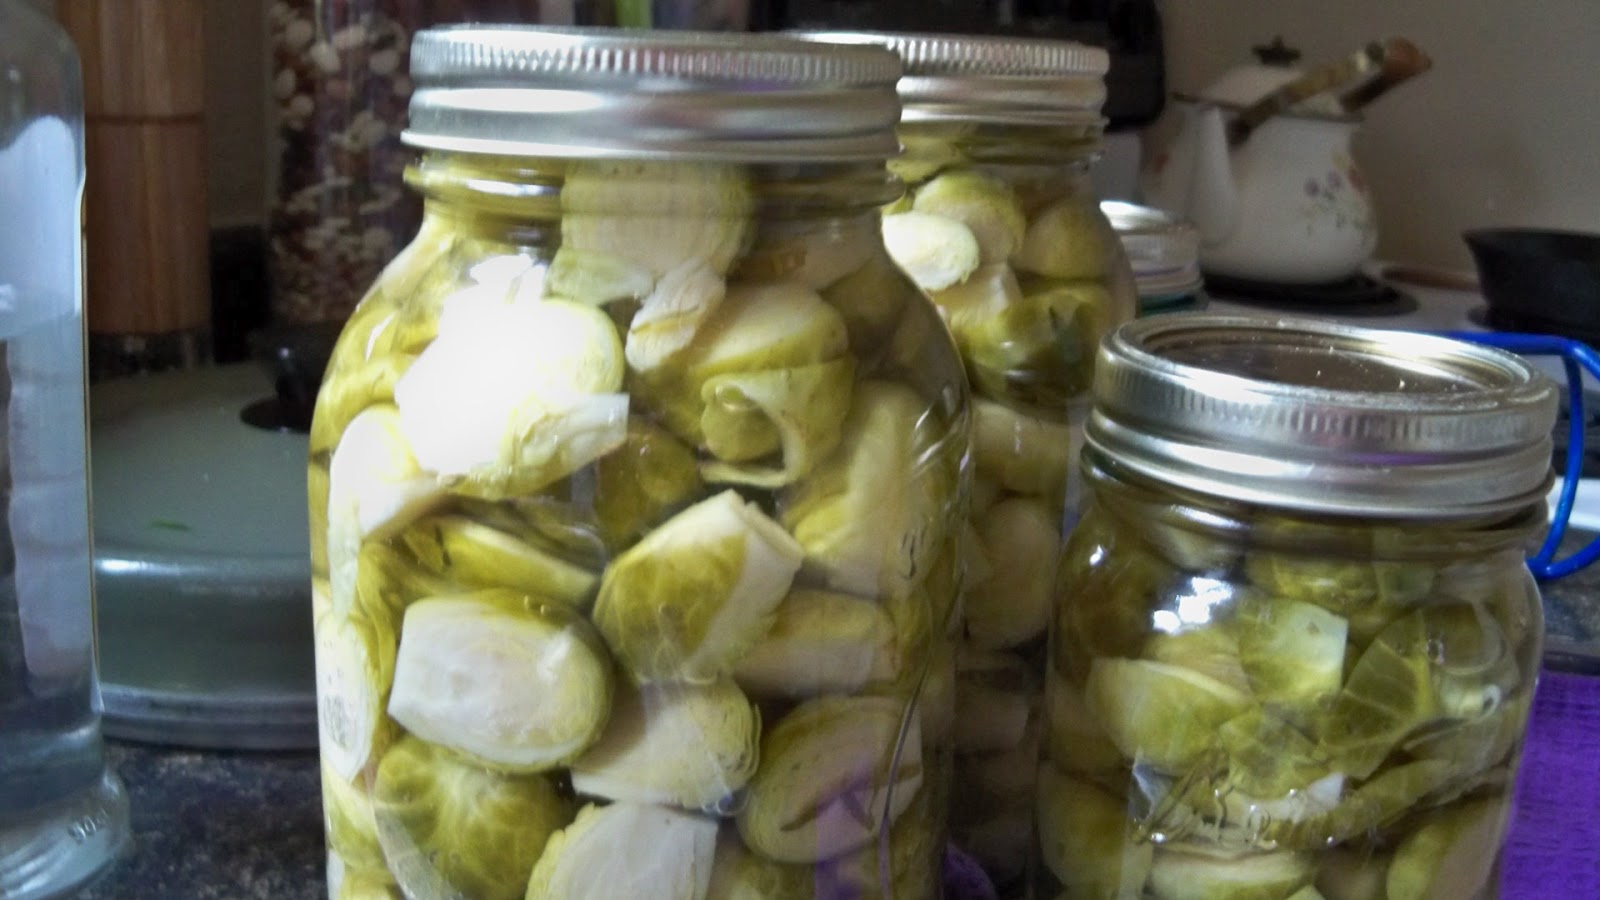
Canning with friends! 
Plants I have gleaned, are growing happily
I hope you are enjoying and celebrating the spring.
Happy crafting!

Friday, March 16

Scrub-a-dub-dub

This is a pattern I concocted over the summer time, with inspiration from my friend Annie. It has been a long time coming, but after my dear friend Alicia requested it a couple of days ago, it seemed only appropriate to include it here on the blog! 


Using repurposed citrus mesh bags (you know, the ones you get onions and citrus in at the grocery store!), some cotton yarn and a couple minutes, you can have a great dish scrubbie, at little cost. Its also much cheaper than buying sponges and they last a long time! A win-win-win, if you ask me. 
The pattern for the scrubbie is super easy:
Ch = chain
Dc = single crochet
Slst = slip stitch

Round 1: Ch 4, slst to make a loop. 
Round 2: Ch 3 to create first stitch then Dc 9 into loop, Slst into first stitch to close second round. 
Round 3: Ch 3 to create first stitch then 2 Dc into each stitch, Slst into first stitch to close third round. 
Round 4: Ch 3 to create first stitch then 2 Dc into each stitch, Slst into first stitch to close fourth round. Ch about 15-20 stitches and Slst into first Ch stitch to create hanging loop; tie off.

Then, I fold the mesh material into a hexagon shape and stitch it around, using the middle row of stitches as my guide for where to stitch. As I go around the scrubbie, I adjust the folding of the mesh so that it is more circular. 

Also, use cotton yarn because it holds up nicely and doesn't get yucky. Then you can also put it in the dishwasher, microwave or laundry to clean it! 


Happy cleaning!
p.s. have any questions about the pattern? Leave a note and I will try to make it more clear! 

Tuesday, March 13

Secret cafe and a hootenanny!

Things are a brewing here in Omaha! And, Big Muddy Urban Farm endeavors comprise a majority of my daily activities these days. Lately, these endeavors have been filled with fun.
A couple weeks ago, we hosted a "secret cafe" as a fundraiser for buying raised beds at one of our growing sites. There were around 50 people who came to enjoy our four-course, sit-down, home-cooked meal! We spent the morning and afternoon cooking for the masses and at 6 pm, when people started arriving, the excitement began to build. Our menu included fresh greens, two soups, homemade pizza and tasty sweet treats. I prepared the a beer, bacon and bean soup which I have been quite fond of lately. Check out the recipe for that below! Our humble basement, that was temporarily turned into a restaurant for the night, was quickly filled:
 Before the guests arrived
After! With much food and laughter
Those who waited for seating enjoyed tunes by my dear friend and fellow Big Muddy farmer Matt in the living room. We were able to raise quite a lot of funds for our raised beds and will be building soon!


Beans, beans the magical fruit!
Beer, bean and bacon soup*
5 cups of mixed beans, uncooked
1 pound of bacon, chopped
1 onion, chopped
2 beers of your choice (I used a dark porter)
1/2 cup of molasses
1/4 cup of maple sugar
1/4 cup of brown sugar
chili powder
cumin
salt
pepper
Stock

1. Soak the beans overnight, then drain, rinse and cook them. Then, rinse them and set them aside in a bowl.

2. In the same pot, cook the bacon and onions until the bacon is browned and slightly crispy. Then, add remaining ingredients (including the beans that you set aside earlier!) and enough stock to cover the beans by about an inch. Allow to stew for an hour or so, adding stock or water as necessary.

Bon appetite! Enjoy with some hearty bread!
*this recipe was modified slightly from the Earth to Table cookbook

Southpaw Bluegrass Band, and a glimpse of the tiny dancers! 
Then, this past Sunday, our friend and supporter Lori planned a Hootenanny (which for those of you who don't know what that is, let me just tell you there are lots of great folk and bluegrass musicians that spend the night on and off the stage sharing their tunes! Lots of fun) to benefit Big Muddy Urban Farm and our urban farming neighbor at our site on 33rd and California, Chris, with his permaculture farm; Sweet Thyme Farm.

Both events were loads of fun, and it feels so special to have such positive community support. Thanks for your continued support and stay tuned for more updates soon.

I'm not sure how the weather is where you are, but it is in the 70s and shining today here in Omaha. So to that, I say:
"Happy spring!"

Tuesday, January 24

Introducing: Big Muddy Urban Farm!

It seems I have been a busy bee lately; hardly a moment to sit down. And, what might you ask, is keeping me on my toes these days? Well, I have quite the news! I have been busy working with several of my new and dear friends here in Omaha, to start a CSA (community supported agriculture) called Big Muddy Urban Farm. It seems, moreover, that I have landed in the exact right spot, surrounded by the best people possible, to nurture my soul and focus my energy. Right now, we are working to secure land and supplies and we are planning our crops so as to grow and sell 20 shares of our farm in the 2012 growing season; enough to feed 80 people for 20 weeks!
The people I am working with come from a diverse background; some having farmed before, some having only been interested in growing food on a personal level, some filmmakers about food and others just food lovers. Myself, I have grown only on a very small scale, in my parents' backyard and at the community garden plot I tended over the past two growing seasons with Jill and friends. I have been fortunate to be exposed to growing throughout my childhood, as my grandpa lives on a farm and my mom worked summers at Uriel Pharmacy as a grower. Though I am quite inexperienced in growing food, I have spent time writing and working on business plans and studying economics for the past four years; all the while interesting myself with food and growing on a text-book and experimental basis. I feel positive that while I have not grown food for a crowd before, my other skills will continue to contribute to the overall success of our group, on the foundation that exists with the others' skills and knowledge.
Surely we will encounter many struggles, and the support of our friends and families will be essential to our well-being; and is the basis for community supported agriculture. Know too, that I have been inspired by so many of you. Such inspiration has led me to this place-- and thank goodness.

Watch us grow, as the seasons change and the air gets warmer and the earth greener!

Friday, January 6

Chicken Soup for the Children's Soul

Two of my dearest little friends, Nadia and Vera, recently found out that I had a blog. Upon finding this, they asked, "Are we on it?" Unfortunately, to date, they have not made an appearance on my blog; and why not, I am not sure! They are some of the loveliest girls I know. So I said, "Share your favorite recipe, and I will be sure to post the recipe and include you in the post!" No more than 24 hours later, I had a recipe in hand and knew what I had to do.
Vera and Nadia, sweet as could be!
Here is what I was told:
"Nadia's and Vera's favorite recipes come straight off of the back of the Ramon noodles package and frozen breaded chicken package, respectively. They aren't much into gourmet dining. I usually have to force them to eat my homemade cooking."
--Nadia and Vera's mom, Olga


Not to worry, she said. "Oh, wait, there is one thing they really like; Russian Chicken Noodle Soup!"


So here goes nothing, I am trying my hand at their favorite soup. Unfortunately we don't live in the same state anymore, so they will have to trust me and my photos and perhaps some reviews by my trustworthy family members/taste testers extraordinaire, as to whether or not the soup was a success. This recipe is exactly how I was given it, though I used a whole chicken rather than smaller cuts. Follow and you will find Nadia and Vera's favorite recipe!
For fun and color, I used purple potatoes!
Russian chicken noodle soup (from scratch of course)
1 whole chicken, uncooked
1 1/2 medium sized onions, whole
1 1/2 medium sized carrot, whole
2 medium sized potatoes
1/2 inch diameter bunch of dill, uncut
2 med size bay leaves
4 cups of egg noodles, any kind

1. Wash the chicken and place it in a medium size pot. Peel the onions. Put the whole one in the pot, and set the remaining 1/2 aside. Do the same with the carrots. Take 2/3 of the dill, tie with string, and put UNCUT in the pot; set the remaining dill aside. Put both bay leaves in the pot. Add water to the pot so the contents are fully submerged under about 1 1/2 inches of water. Add salt and black pepper. Boil over high heat; after it boils, turn down to low. Trim and discard of the froth. Simmer for about two hours until meat is tender. Take the meat out, put it in a bowl, set aside. 
2. Chop the remaining onion and carrot and sauté in 2 tbsp of vegetable oil until onions are golden brown. Add to the broth and bring it back to a boil. Cut the potatoes into 1/2 inch cubes, add to the broth. Add the noodles. Cook over medium heat until potatoes are soft (about 10 minutes). Finely chop the remaining dill. Once the potatoes and noodles are done, turn off the heat, add the chopped dill, and cover. Let it rest for about 15 minutes. Taste and add more salt or pepper if desired. You may want to try adding 2 tea spoons of sugar- you'll be surprised at the subtle but very pleasant difference it will make. Skin the chicken and cut into small chunks. Discard the skin and bones. Add the meat directly to the bowl immediately prior to serving. Do NOT let the meat sit in the soup. Enjoy with soft white bread!!!


I would say, it is quite the wonderful recipe. I don't cook with dill a lot, but it surely added a nice flavor and the stock made by cooking the chicken with the vegetables lends itself to a flavor-filled dinner treat. 


Let the soup warm your soul.
Me and the girls, a year ago or so
Happy eating!

Monday, January 2

New year

What a wonderful year 2011 was. And I look forward to so many new prospects; where I will be surrounded by new friendships and supported by old ones. I was lucky as a duck to chime in the new year, with Jill in town; my first visitor since my move to Omaha!
 frosty windows in the wintertime
and dear friends in Omaha
Before the new year, I was lucky to spend much time at home. I relished in the season of winter; spending most days sleeping in and staying in my pajamas through the evening hours. As winter will hold a special place in my heart forever, I especially appreciated the connection I have with the kitchen through these cold, dark months. The warmth that radiates from the stove heats my body and my soul. It is a connection that I nurture as much as I can, as the warmth from cooking sustains me through winter.

This year, I have spent much time exploring the world of candy making. For the past several years I have been making caramels with my Poppa's recipe. It is a treat that I have spoken of before, but cannot be under-praised. My Poppa's caramels are of a quality unmatched by many other sweet treats, and they are especially delightful during this time of year. Earlier in the year, I explored the spices of gingerbread and came up with a new caramel; the gingerbread chew. It was a hit, and it spurred my further exploration of other tasty treats! This winter, I made three new caramel chews: chai, maple and hot cocoa. Of the three, I am most pleased with the chai chews. Though this is not to say that there won't be more of the others in the future. Rather, it seems that some perfecting needs to take place before sharing the latter recipes. However, I am happy to share my new recipe for chai caramel chews!

Also, it should be noted that if you are hesitant to make candies or caramel chews because you don't have a candy thermometer, please don't let this stop you! You can pick a thermometer up for close to 5 dollars at most every supermarket or grocery store. And it will be 5 dollars well spent.
From left to right: hot cocoa, gingerbread, chai, maple, plain 'ol caramel
Chai Caramel Chews
4 cups of white sugar
1 quart of white corn syrup
1 pound of butter
1 quart of half and half cream
1 tablespoon of green label tea
1 tablespoon of red label tea
6 green cardamom pods, crushed
2 teaspoons of ground cardamom
Sea salt

1. In a small sauce pan, brew teas and cardamom pods in the half and half cream. Don't boil, but heat until the cream is a dark hue with the brewed tea. Strain the tea leaves from the cream and discard. 


2. Place the sugar, corn syrup, butter, cream and remaining cardamom in a large, heavy bottom saucepan. The pan should be at least 8 quarts or larger. Heat over medium-high heat until the mixture comes to a boil. 

3. Continue boiling while stirring until the mixture comes 247 degrees (medium-hard ball stage), approximately 1 hour.

4. Remove from heat and pour into a well buttered 9x13 inch cake pan. Sprinkle with a tablespoon or so of corse sea salt. When thoroughly cooled (a few hours; be patient!) invert the pan and remove the caramel onto a cutting surface. Cut the caramels into long 1 inch strips with a buttered pizza roller. Then cut the strips into 1 inch squares. Wrap them in waxed paper and share with your friends.


Happy new year and happy sweet treat eatin!